Thursday, October 25, 2012

Taos Wool Festival Travelogue

Taos Wool Festival on a Gorgeous Day in October

Wool Festivals are sprouting up all over. Spinners and ranchers know about them but I think they might be less well known to knitters.
 
 
Young alpacas

I was able to attend the Taos Wool Festival this year. This was their 30th anniversary. Like most wool festivals it was started by the sheep ranchers to display and sell their wool and sheep. This has grown to all things wool with other fiber bearing animals like llama, alpaca and angora bunnies.
 
Beautiful handmade spindles, knitting needles and very nice people
And then there are vendors of weaving and spinning tools, spindles, knitting needles, crochet hooks
 
An intrepid kitten on a leash named Callie unfazed by all the dogs.
You never know what you will see at a a Festival.

 
Winners in HandspunYarn Judging
There were lots of fun contests like who could spin the longest yarn in 2 minutes and two-person spinning with one treadling and one drafting the fiber. These gorgeous yarns were champions in Handspun yarns.
 
 
Art yarns with lovely little flowers
Then there are the gorgeous yarns and fibers for sale.
Most festivals include workshops, food vendors and demonstrations such as shearing, weaving and spinning.
 
There is a Wool Festival coming up here in southwest Arizona in Tubac on November 3, 2012. Check it out on the web: www.TubacPresidioPark.com.
 
See you at Kiwi’s after the Festival. .


Wednesday, October 3, 2012

A Picture Tutorial for Chain Cast On

I love this cast-on - the Chain Cast-On AKA Crochet Cast-On.  It looks just like the usual knit bind-off and slip stitch selvedges.  In the photo below the lower edge of each point is cast on, the side edge is a slip stitch selvedge. They match - almost as if the whole piece was crocheted around the edge.


Merging Colors Vest by Candace Strick

Can you tell which edge was cast on and which was bound off on this swatch?


Here is how to do the cast-on:

 
Start with a slip stitch on the crochet hook and the yarn behind the knitting needle.

Reach over the knitting needle and hook the yarn to pull through the slip stitch.


Now there is one loop on the knitting needle. Move the yarn behind the knitting needle for the next stitch and reach over the top of the knitting needle for the next stitch
 
 
 Now there are two. Note the yarn is behind the needle and ready for the 3rd stitch. Continue with these steps until you have the number of stitches less one.
 

The last stitch is the one on the crochet hook. Pull it off the hook and place it on the knitting needle. You are ready to knit.
 
You can do this without a crochet hook  by chaining with your fingers. It is a little harder to keep the chain stitches even. Practice helps. This is a good alternative if you have trouble holding the yarn, crochet hook and knitting needle.
 
 
Cast-On at the edge of a Work in Progress:
 
This cast -on can be used to cast on stitches at the edge of a work in progress – say a side to side sweater when you need to cast on the body stitches.
 
Start by putting the crochet hook through the first stitch on the left needle and pull a loop through that stitch. Then put the yarn behind the knitting needle, take the crochet hook over the knitting needle and work as above. In this photo the last loop had just been pulled through and the yarn has not been moved to the back yet.
 
 
Same Cast-on Used as a Provisional Cast-On


This is a very versatile cast-on. It can be a starting cast-on or as a provisional cast-on where you use a waste yarn and remove it later. If you are going to use the chain cast-on to be removed later be sure to leave a few extra chains when you stop so you remember where to start unraveling. (See the tail of waster yarn on the swatch above.) Be sure to do the first row of your working yarn in the knit stitch. Any other stitches like purls will not come out easily.


The nice thing about using the chain cast-on a provisional cast-on is that you can remove the chains one by one. This makes it easier to pick up the live stitch and put it on a needle.
 
This is a great way to start a knit garment. Start with a provisional cast-on and decide on what edges you want later - maybe a hem or something worked sideways. It is also useful for knitting on lace edges. You have live stitches for to knit the edge when you remove the waste yarn.  It is also a way to start a scarf in the middle by using the provisional chain cast-on. Work one end, then remove the waste yarn and work the second end. Some pattern work best this way as each end is worked in the same direction so they match.
Have fun with this cast-on.


Friday, September 21, 2012

About Wool

Great book for knitters to learn about wool by Clara Parkes
 
My head is full of wool these days. I spent half of the summer with raw wool fleeces – cleaning, combing, carding, spinning and knitting the wool of various breeds. It was an incredible experience and, among many other things, I learned that wool - hand cleaned, prepared and spun - is almost like a different animal than commercially prepared fiber or yarn.  And in a few weeks, I will be on my way to the Taos Wool Festival in Taos New Mexico to play with more wool.

Washed lock and handspun skein
Babydoll Southdown sheep from Juniper Moom Farm

Wool is a gift to knitters with a kaleidoscope of marvelous and desirable characteristics that synthetic fibers can only envy. Wool insulates against heat and cold. It absorbs moisture keeping the wearer dry. Up to a point of course, but even saturated, wool will still keep the wearer warm. It even extinguishes itself in a fire.

Swatch of Handspun Tarhee Stretched and relaxed

Specifically important to knitters, wool is resilient. It stretches when a knitting needle is inserted into a stitch and returns to its original size to snuggle into the newly made stitch. In other words it holds its shape.
 
A Fabulous Book About Sheep and Wool
A word about allergies, the biggest obstacle to non-wool lovers:  Wool is made up a protein called keratin – the very same thing that our hair and nails are made of. It seems unlikely that we are allergic to keratin. Maybe some people are allergic to the lanolin rarely but sometimes left in yarns. More likely, the allergy is due to the chemicals and dyes used in commercial processing of wool. Thus handspun wool may not have an allergy problem. There is a prickly factor referred to in the Fleece and Fiber Sourcebook – some humans are so sensitive that even the finest fiber’s pokey ends can be felt and attributed to an allergy. Definitely this is an unclear subject.
By the way, the above book is chock full of all kinds of information about wool, history and information of over 200 breeds of sheep and characteristics of the their wool – absolutely fascinating.
 
 
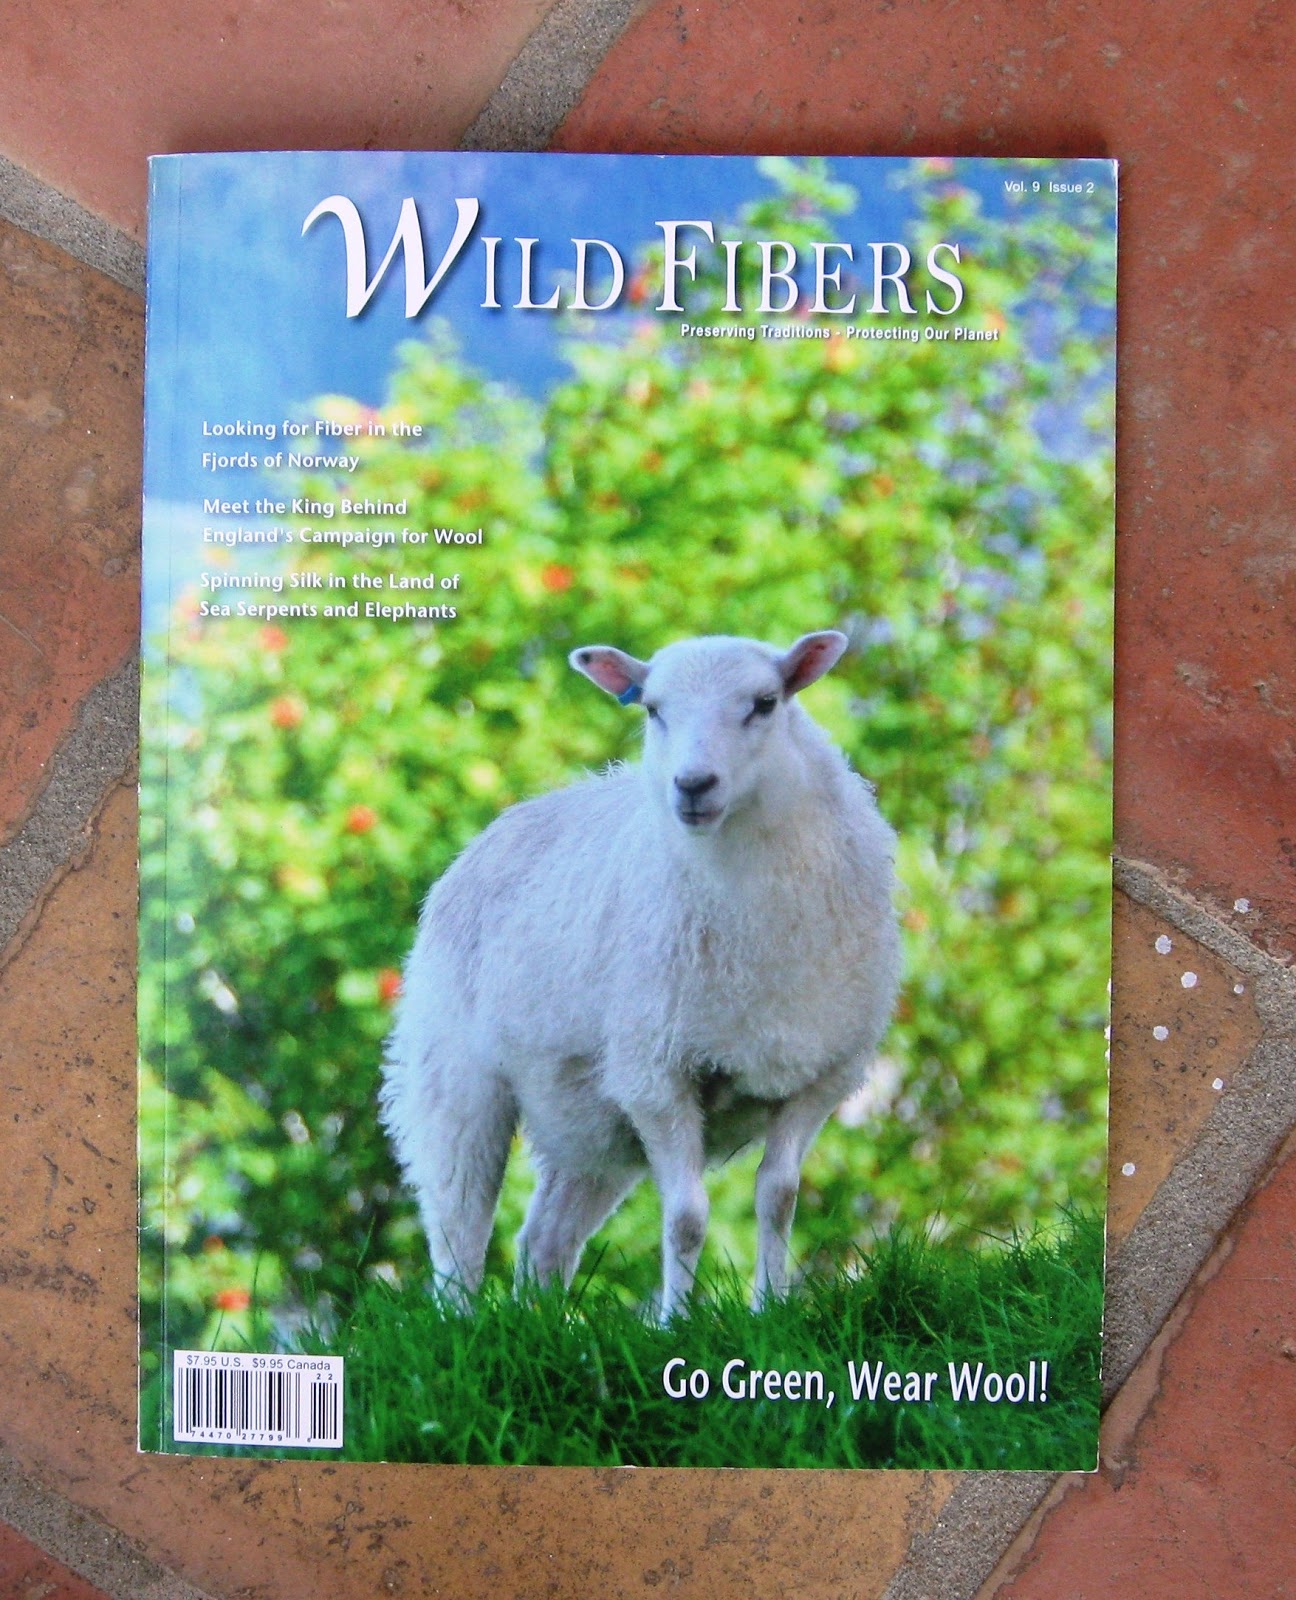
“Wool is Green”: wool is a natural renewable fiber as opposed to synthetic fibers that are produced from oil. As Linda Cortwright, editor and author for Wild Fibers magazine so poignantly states it: “pause for just a moment to consider the fact that there has never been a national disaster caused by a sheep spill” (from the article in this issue of Wild Fibers “New York Welcomes the Wizards of Wool”)
Check out some breed specific yarns (Merino, Bluefaced Leicester and more at wool festivals and some local yarn shops) to support local ranchers, be green and see for yourself how fun wool can be.


Friday, September 7, 2012

Blocking Knits - It's Magic!


Blocking is really wonderful for knit garments. It evens out stitches and softens the knit; the yarn relaxes and lace opens to show its full beauty. In other words the knit transforms.
  
When to Block? All animal fibers should be blocked. Plant fibers (cotton, linen, bamboo, rayon) may also be blocked although they respond less dramatically than the animal fibers. Synthetic fibers (e.g.acrylic, nylon) are not blocked unless blended with a natural fiber.


How to Block a Knit
  1. Time and patience:  A sweater or shawl will take several hours to wash and pin out. Sometimes you may need to redo parts or all to insure everything is well aligned and matched.
  2. Prepare garment:  It is best to block a garment before seaming. This makes the washing and seaming easier. Work in ends if they are in the middle of a piece. If ends are on the edges leave these to work in after the garment is seamed. If this is a circular knit the garment is finished completely and then washed and blocked.
Mats like this with 1inch square grid are great for laying out sweater parts. Mat and wires
Available at Kiwi’s
3. Assemble equipment:
·        Blocking board or surface: This will stay in place until the garment dries so make sure it is not in the way and children or pets cannot walk on it or pick up any pins for their safety. Make sure the surface can hold all the pieces or garment. It is really hard to block over an edge and will make a mark in the knitting.
·        Sink or tub for washing and access to hot water.
·         Shampoo or a gentle soap. Do not use Woolite or dishwashing liquid for wool.  Both of these are too harsh and can damage the wool fibers. White vinegar may also be needed.
·        Pins and maybe blocking wires – see below for more information on these.
·        Two Measuring tapes. Sometimes a yard stick is also handy.
·        Steamer or steam iron.
 
 
4. Soak in hand hot water for at least 20 minutes.  Use a small amount of shampoo or a gentle soap.  No need to agitate. Also soak to rinse. I usually rinse three times using white vinegar for protein fibers only in the second rinse to neutralize the soap. Amount of vinegar depends on the amount water. I use about 1 tbs/gallon – guessed, not measured. Some knitters believe leaving a little bit of soap in without complete rinsing may discourage bugs.
 
5. Remove excess water: Squeeze out the water. Do not twist or wring. If there is a lot of water, roll up the pieces or garment in a towel. Then press firmly on the towel. 
6. Lay out each piece on a blocking board. A clean carpet or bed may work for larger items. Smooth out the garment to its full size without stretching.
 
7. Align each piece with a straight edge either on the blocking board or use a measuring tape and pin for a straight line you can work from. Do this for the long edges. Shorter edges you can usually tell by looking.  I don’t do this with shaped sleeves – I check just by looking and measuring.
 
8. Measure the sides and top and bottom to make sure they are all even (unless they are not supposed to be). Make sure both fronts and sleeves are the same measurements-again if they are supposed to be. Check these measurements against your gauge and the planned or pattern finished sizes.
 
 
9. Pinning and/or Inserting Wires: If the garment is a bit small on an edge or overall you can stretch it some (there are limits to this). If stretched, it will need pinning to the desired size. Sometimes you only need to pin the corners, sometimes you need to pin every inch along every edge (or use blocking wires). You will know if you need to pin if the edge retracts back when you let go of it. 

I love these blocks (from Knit Picks) for long scarves. 
T pins help save your fingers.

I usually pin scallops, picots and points. Wires are great for lace – just weave them along the edge. Then pin the wires as needed to keep the edges straight.  In dry climates the lace may need to be dampened several times as it may dry before it is completely pinned. A spray bottle with water works well for this. Check that the pattern stitches are aligned and even.  If not re-pin until they are.
The blocks and wires are perfect for shaped shawls as you can put a a block where needed

10. Steam to set. Washing may be enough but I usually steam as a final touch. Always steam if the garment is lace or has been stretched. You can use a steamer or a steam iron. A dry iron and damp cloth can also be used but never press the knit. Pressing will flatten the knitting and ruin stitch definition.
 
11. Let dry. Remove the pins and wires when the knit is almost dry to prevent pin marks. Leave the pieces or garment in place.  Only pick it up when it is completely dry. If you are working with a finished garment you will need to turn it over as soon as one side almost dry. It may need turning several times.
 
Enjoy. Your knit has been transformed.  


Sunday, August 19, 2012

Did you know?


Did you know that knitting improves your brain - your memory, your neurons (AKA brain cells)? Knitting slows aging and prevents memory loss. How good is that! In past years research has shown that knitting is as good as meditation for relaxation and reducing blood pressure. Now research has found that learning a new skill actually makes new brain cells to grow. And knitting is one of those skills. The lovely thing about knitting is there is always something new to learn – a new stitch, a new technique, a new cast on, a new pattern. It is good to know that it is healthy for us too.


To help you grow new brain cells, Kiwi Knitting has a host of classes for you. Here are just a few upcoming classes. Check out the Kiwi Knitting Newsletter for details and more classes.


Beginning Crochet: Crochet this scarf
                            3 session class -Wednesdays 10-12: August 29, September 5 & 12             
                                                         Or Saturdays 10-12: September 1, 8 & 16.
                                                         Or Mondays     1-3:   September 17, 24 & October 1


Beginning Knitting: Knit this scarf: 4 session class – Thursdays 1-3: October 4, 11, 18 & 25

If you know the basics then Second Steps is a 3 session class that adds new skills learned and practiced by knitting a hat. This class is on Tuesdays 10-12: August 28, September 4 & September 11


Learn more about socks. Here are a couple of the sock classes coming up”
                  Sweet Tomato Heel:  Monday, 10-12, August 27th
 
The perfect solution to the Second Sock Syndrome:
                               2 Socks on 2 Circs: Saturday, 1-3: September 22


Project classes are fun too. You can learn all kinds of things in just one project. Here are just a few of the many that are offered. (By the way, if you cannot make a class there are some great books available. Weekend Hats are featured here.)
 
Chroma Hat (AKA Fair Isle): 2 session class, Thursdays 1-3, August 23 & 27
Lea Cloche Hat: 2 session class, Fridays, 1-3, September 7 & 14.

Lace scarf class coming up this week:  2 session class Thursday 10-12, August 23 & September 6.

Whatever you chose, have fun knitting for a healthy brain.