Sunday, December 9, 2012

Yeek! Steeks!

As promised this blog is about steeks. The above book is my go-to book for all things Fair Isle.
 
Why steek? The main reason is so you can keep working in the round – just knitting, no purls and you get to watch the pattern develop as you work. . The problem comes up when you come to the armholes. If you change to working flat (i.e, back and forth knitting and purling) your gauge will change as will the look of the stitches. They really will be less even.


So steeks were invented to make a holding place for the armholes, the front of a cardigan and even the neck shaping. The steek is a bridge of stitches that will later be cut, folded back and stitches picked up to work the arms of the sweater or in the case of a cardigan or neck shaping - the bands.
 
Maybe not used traditionally but stitch markers are great to mark where the steek starts and ends. Notice the placement of these on this swatch - the chili pepper is the start. The little silver one is hard to see. It marks the end of the steek and the beginning of the Fair Isle pattern.
 
 
There are lots of ways to make the steek. I am giving you my favorite as it provides:
·        A pair of stitches that outline the cutting line – the pink thread shows where the cut will be. I don’t need this when I cut the steek as I can usually follow the center lines. Some people do baste in a contrasting thread so they are sure they are cutting in the right spot.
·         A row of stitches that mark the fold line – the green thread marks this. Again this is just to show where the line is.
·         Even stitches in the garment next to the steek. Some steeks are made by winding yarn around the needle. I like the knitted steek as the garment stitches maintain their evenness.
·         Extra stitches that will not unravel after the central stitches are cut
 
 
Steeks can be added anywhere.  In the first photo the steek was started at the very beginning as if for a cardigan. The steek above is for a sleeve.
·         One stitch was removed and held in place by a locking stitch marker.
·         Then ten stitches were cast-on for the steek. Any cast on will do even the “e” or half hitch cast-on.
·         I kept the same formula – the background  color for the stitches at the beginning and end of the steek and for the two stitches in the center where the cut will be. The ones in between can be alternated in the pattern color.


I know cutting is the hardest part but it gets easier with practice. In this photo the steek is folded back to the inside of the garment and tacked with a cross stitch according to Fair Isle tradition. The cross stitching is done in white near the center of the photo.
This sweater is cotton. I did stay stitch on either side of the cutting line with the sewing machine because it was cotton. I have not done that with any of my wool sweaters that were steeked and cut and they have not unraveled a bit. Wool likes to hold on to itself. I needed a little extra sense of security with cotton.
 
Amazing, isn’t it? Fair Isle is great fun and steeking is not scary once you have done it.

Friday, November 23, 2012

Fair Isle Rules

Fair Isle Jacket from Teddy Bear Sweaters
This one by Kaffe Fasset
Fair Isle (AKA Stranded Knitting) is one of my favorites. I love the color-work, the traditions, the rhythm of the knitting and most especially watching the pattern grow as I knit. It is much easier to knit than it looks. It is all stockinette. There is a little bit of intarsia in this sweater but it is mostly stranded. The technique for intarsia is different.


Intarsia may involve any number of colors in a single row. The various yarns are not stranded across the back of the work but used only in the area required in the knitting to create a picture or design. The yarns have to be twisted around each other or there will be holes.  The individual colors may be on bobbins or just lengths of yarn.
 

Modified Pattern from Alice Starmore's Book of Fair Isle Knitting
This sweater uses only two colors and yet there are more than two colors in the sweater thanks to the hand-painted yarn. The pattern yarn (the yarn in the motif) is from a hand-painted wool roving that was handspun so the colors are subtle and blended. The background yarn is a commercial wool yarn in a color similar to one in the hand-painted yarn. This blurs the motif and gives a watery effect to the Water Lily motif.


In Fair Isle the yarns are carried – that is stranded - across the back (wrong side) of the knitting. This creates a double thick fabric – desirable in cold climates.
 
Fair Isle Rule No. 1:  There are only two colors per row.  
 
There is no rule that you have to use 20 colors - you can, of course – but you only carry two colors in a row. New colors are exchanged with the previous colors as desired at the beginning of the work.


With only two colors in the row the knitting is easy as you can carry two colors either in one hand or one color in each hand.
           It is best to be consistent in keeping one yarn carried on top and one underneath. This will keep your gauge more consistent and the motifs neater. The yarn coming underneath is usually the pattern yarn as it will be more prominent in the motif.
 
This photo shows the stranding on the inside of the sweater above.
Rule No. 2: No stranding the yarn over more than an inch or 5 to 7 stitches.
        Long strands can be caught by fingers and jewelry and they tend to make the knitting pucker. Motifs are usually designed to avoid long strands. Yarns can be woven in the back of knit stitches to catch the strands if necessary according to the pattern.  
        Stretch out the knitting on the needle as it is worked. I do this every 2-3 stitches, pulling the stitches across the right hand needle as it is worked. This lengthens the strand of yarn evenly across the back of the work to prevent puckering.


Rule No. 3: Knitting is done in the round.
           The tradition is to knit in the round and avoid working flat – that is knitting across and purling back. Just knitting and knitting – how lovely.  Of course it can be worked flat but it is harder to see the pattern on the purl side – sort of diminishes the fun of knitting Fair Isle and changes the gauge of the knitting.
          To avoid knitting flat above the armholes, steeks are used. Steeks are not a rule but a great technique and worthy of a whole blog – next time.

 
Upcoming Classes at Kiwi Knitting:
Snowflake Cowl – Brighten your winter wardrobe while staying warm with this cowl which
features a ring of traditional snowflakes bordered in garter stitch edges. Materials: 120y of light
worsted yarn in each of 2 colors; US10 16” circular knitting needle; a marker, & the pattern from
2012 Knitted Gifts. Cost: $32. Teacher: Holly Harper. 10 – Noon Wed Nov 28 & Dec 5


Custom Fit Dog Sweater – No matter what your dog’s size or shape, Brigid can teach you how
to make him/her a sweater that fits beautifully! Materials: 200y – 400y yarn depending on size
of dog; knitting needles suitable for the yarn; markers; measuring tape; paper & pencil.
Cost: $32. Teacher: Brigid Connolly. 10 – Noon Sat Dec 1 & 8


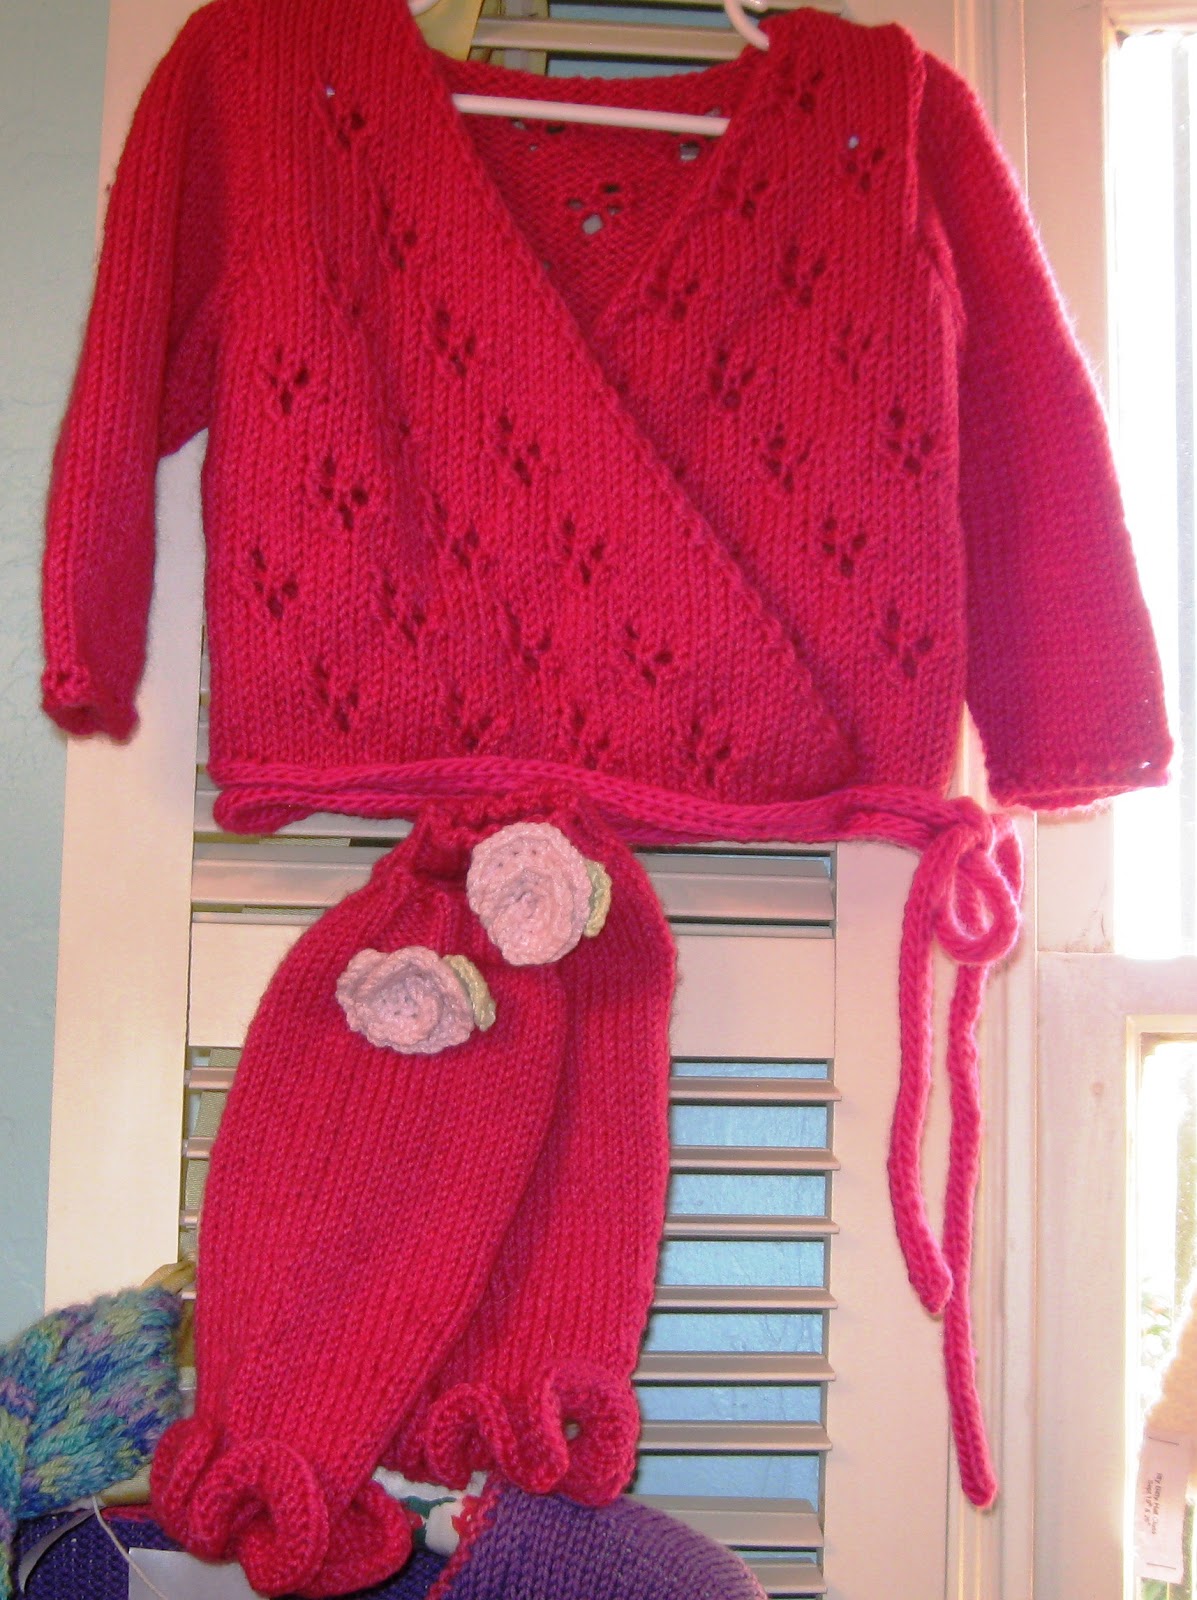
Toddler Ballet Wrap & Ruffled Leg Warmers – The budding dancer in your life will love these additions to her tutu and ballet shoes. The wrap features a dainty eyelet pattern and the leg warmers a ruffled edge at the ankle. Materials: 90 – 180y of medium yarn & US7 double points for leg warmers. 270 – 310y medium yarn; US8 circular & double points; Sz H crochet hook; & 3 stitch holders for the wrap. Both patterns are available free at knitting.about.com. 2 circulars or 1 long circular can be substituted for double points if desired. Cost: $20 leg warmers/ $32 wrap/$48 both. Teacher: Kendra McNally. 1 – 3 PM Fri Nov 30 (leg warmers), Dec 7 & 14 (wrap).


Monday, November 12, 2012

Knitting Tools and Notions


What are the absolute essential tools we need for knitting? Knitting needles are the obvious first choice.  In the past people made them with wood, bicycle spokes even precious metals.( I assume this based on the story that Helen of Troy had a golden spindle.)  I know of a few desperate knitters who have used toothpicks, coffee stirrers and even pencils.


 We are so lucky today to have not only gorgeous needles but ones that have nicely tapered points, smooth surfaces and smooth joins on circulars and a plethora of choices – woods, metal, plastic, glass, gorgeous or beautifully simple, colorful and playful. We get aesthetic enjoyment from beautiful needles and tools.
 
 
From the top: Clover Bamboo, KnitPicks Harmony, Addi Turbo Lace
We can choose knitting needles to suit a slippery yarn or a toothy yarn, fine tapered points for lace and double points, circulars or straights for the need of our project or our own personal style of knitting.


The next essentials are scissors and tape measures. These can be just functional or beautiful or cute like the little critter tape measures here.


Once we get past the bare essentials then the next needed item is something to hold our knitting – a basket or a bag. Some just use paper bags or the plastic grocery store bags. Some of us like gorgeous bags.
 
 
Nantucket Bag - photo from Nantucket Bag website
Some bags are made for knitters and others are totes knitters have borrowed – multi-pocketed totes for garden tools or builders tools or totes with logos that mean something to us.


Then there are the project bags. These can be little purses or designed especially for knitters. Sometimes there are so many bags and pockets we cannot figure out where we put stuff. Or maybe that just happens to me.
 
 
Gauges from Debra's Garden and Kiwi Knitting
I think needle gauges are essential.  Most knitters who use double points or circular needles agree. Even if I label the cases I always find one lonely double point or circular that has no identifying mark as to what size needle it is.


Another useful thing about needle gauges - they can help you choose a needle size appropriate for the yarn you plan to use - such as, when substituting a yarn different from what the pattern recommends. Double the yarn and lay it on top or underneath the needle gauge without stretching the yarn.  Find the opening in the gauge that the doubled yarn fills. Whatever needle size is filled that would be a good starting needle size for that yarn. Please, swatch it to be sure.
 
 
Notions are the most fun of all. I love the wonderful stitch markers we have now – little dogs or sheep, precious silver rings, beautiful beads. My vote for the most useful is the locking stitch markers - those are the turquoise and coral plastic ones in the case above.Not only do they work on the needle to mark pattern changes but they can be pinned into the knitting to track decreases or increases, hold a dropped stitch until it can be repaired, act as a little stitch holder, help with seaming and on and on. This notions case from Nancy’s Knit Knacks is perfect for holding these tiny things as well as tiny scissors and another essential – tapestry needles.


Buttons could be added to the list. So could stitch holders, point protectors, needle cases, highlighter tape, magnetic chart holders, cable needles, crochet hooks, the dental pick tool from Patternworks, hand cream, pencils, graph paper …. Oh! And Yarn!


Thursday, October 25, 2012

Taos Wool Festival Travelogue

Taos Wool Festival on a Gorgeous Day in October

Wool Festivals are sprouting up all over. Spinners and ranchers know about them but I think they might be less well known to knitters.
 
 
Young alpacas

I was able to attend the Taos Wool Festival this year. This was their 30th anniversary. Like most wool festivals it was started by the sheep ranchers to display and sell their wool and sheep. This has grown to all things wool with other fiber bearing animals like llama, alpaca and angora bunnies.
 
Beautiful handmade spindles, knitting needles and very nice people
And then there are vendors of weaving and spinning tools, spindles, knitting needles, crochet hooks
 
An intrepid kitten on a leash named Callie unfazed by all the dogs.
You never know what you will see at a a Festival.

 
Winners in HandspunYarn Judging
There were lots of fun contests like who could spin the longest yarn in 2 minutes and two-person spinning with one treadling and one drafting the fiber. These gorgeous yarns were champions in Handspun yarns.
 
 
Art yarns with lovely little flowers
Then there are the gorgeous yarns and fibers for sale.
Most festivals include workshops, food vendors and demonstrations such as shearing, weaving and spinning.
 
There is a Wool Festival coming up here in southwest Arizona in Tubac on November 3, 2012. Check it out on the web: www.TubacPresidioPark.com.
 
See you at Kiwi’s after the Festival. .


Wednesday, October 3, 2012

A Picture Tutorial for Chain Cast On

I love this cast-on - the Chain Cast-On AKA Crochet Cast-On.  It looks just like the usual knit bind-off and slip stitch selvedges.  In the photo below the lower edge of each point is cast on, the side edge is a slip stitch selvedge. They match - almost as if the whole piece was crocheted around the edge.


Merging Colors Vest by Candace Strick

Can you tell which edge was cast on and which was bound off on this swatch?


Here is how to do the cast-on:

 
Start with a slip stitch on the crochet hook and the yarn behind the knitting needle.

Reach over the knitting needle and hook the yarn to pull through the slip stitch.


Now there is one loop on the knitting needle. Move the yarn behind the knitting needle for the next stitch and reach over the top of the knitting needle for the next stitch
 
 
 Now there are two. Note the yarn is behind the needle and ready for the 3rd stitch. Continue with these steps until you have the number of stitches less one.
 

The last stitch is the one on the crochet hook. Pull it off the hook and place it on the knitting needle. You are ready to knit.
 
You can do this without a crochet hook  by chaining with your fingers. It is a little harder to keep the chain stitches even. Practice helps. This is a good alternative if you have trouble holding the yarn, crochet hook and knitting needle.
 
 
Cast-On at the edge of a Work in Progress:
 
This cast -on can be used to cast on stitches at the edge of a work in progress – say a side to side sweater when you need to cast on the body stitches.
 
Start by putting the crochet hook through the first stitch on the left needle and pull a loop through that stitch. Then put the yarn behind the knitting needle, take the crochet hook over the knitting needle and work as above. In this photo the last loop had just been pulled through and the yarn has not been moved to the back yet.
 
 
Same Cast-on Used as a Provisional Cast-On


This is a very versatile cast-on. It can be a starting cast-on or as a provisional cast-on where you use a waste yarn and remove it later. If you are going to use the chain cast-on to be removed later be sure to leave a few extra chains when you stop so you remember where to start unraveling. (See the tail of waster yarn on the swatch above.) Be sure to do the first row of your working yarn in the knit stitch. Any other stitches like purls will not come out easily.


The nice thing about using the chain cast-on a provisional cast-on is that you can remove the chains one by one. This makes it easier to pick up the live stitch and put it on a needle.
 
This is a great way to start a knit garment. Start with a provisional cast-on and decide on what edges you want later - maybe a hem or something worked sideways. It is also useful for knitting on lace edges. You have live stitches for to knit the edge when you remove the waste yarn.  It is also a way to start a scarf in the middle by using the provisional chain cast-on. Work one end, then remove the waste yarn and work the second end. Some pattern work best this way as each end is worked in the same direction so they match.
Have fun with this cast-on.